

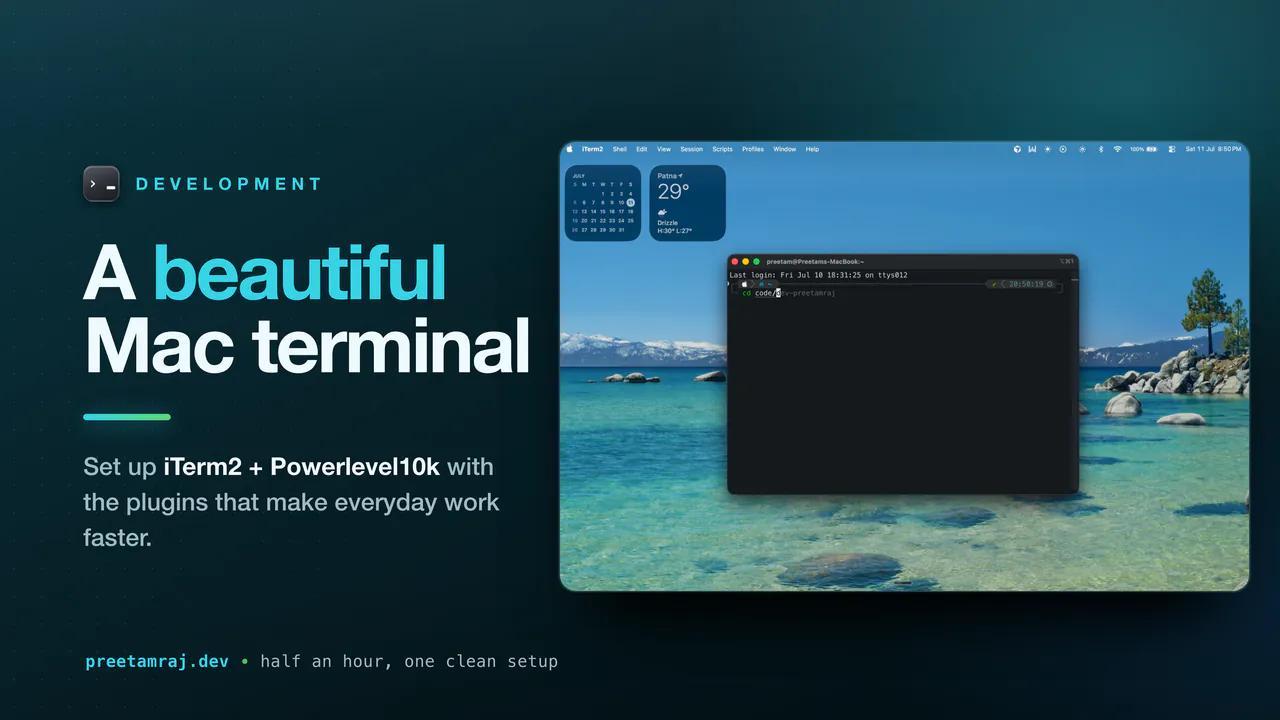
How to Set Up a Beautiful and Productive Mac Terminal
July 10, 2026
345 min readA simple guide to setting up a clean and productive Mac terminal using iTerm2 and Powerlevel10k, with a few useful customizations to make your everyday workflow better.
The default macOS terminal does the job, but it never made me want to open it. No colors worth mentioning, no autocomplete that reads my mind, and no quick way to see which git branch I'm on. So I spent an afternoon fixing that, and honestly it's one of those small changes that pays you back every single day.
Here's the exact setup I run now, in the order I'd do it again on a fresh machine.
1. Get Homebrew first
Everything else installs through Homebrew, so it goes first. It's the package manager macOS should have shipped with.
/bin/bash -c "$(curl -fsSL https://raw.githubusercontent.com/Homebrew/install/HEAD/install.sh)"On Apple Silicon it won't be on your PATH automatically. Add it (swap in your username):
echo 'eval "$(/opt/homebrew/bin/brew shellenv)"' >> ~/.zprofile
eval "$(/opt/homebrew/bin/brew shellenv)"
2. Swap the built-in terminal for iTerm2
The stock Terminal.app is fine. iTerm2 is better - split panes, proper color support, and it plays nicely with everything below.
brew install --cask iterm2Close the default terminal from here on and do the rest inside iTerm2.
3. Install git properly
macOS ships a git, but I'd rather manage my own through Homebrew so it stays current.
brew install git4. Oh My Zsh - the shell framework that ties it together
This is what makes zsh pleasant to configure. Themes, plugins, sane defaults, all managed for you.
sh -c "$(curl -fsSL https://raw.githubusercontent.com/ohmyzsh/ohmyzsh/master/tools/install.sh)"5. A prompt that actually tells you something - PowerLevel10K
This is the piece that changes the whole feel. PowerLevel10K gives you a prompt that shows your current directory, git branch, whether you have uncommitted changes, exit codes - all at a glance.
git clone https://github.com/romkatv/powerlevel10k.git $ZSH_CUSTOM/themes/powerlevel10kThen point your shell at it. Open ~/.zshrc and set:
ZSH_THEME="powerlevel10k/powerlevel10k"Reload and run the setup wizard:
source ~/.zshrc
p10k configure
The wizard walks you through the look step by step. It asks you to install the Meslo Nerd Font - say yes. That font carries all the little icons and glyphs the prompt uses; without it you'll see boxes instead of symbols.
6. Make it look right
Two small touches that matter more than they should:
- Font size - in iTerm2, go to Preferences → Profiles → Text and bump it up. Around 20px reads comfortably for me.
- Colors - I grabbed the "coolnight" color scheme:
curl https://raw.githubusercontent.com/josean-dev/dev-environment-files/main/coolnight.itermcolors --output ~/Downloads/coolnight.itermcolorsThen import it via Preferences → Profiles → Colors → Color Presets → Import, and select it.
7. The two plugins I can't work without
This is the productivity payoff.
zsh-autosuggestions - as you type, it faintly suggests the rest of the command based on your history. Hit the right arrow to accept. You stop retyping long commands almost immediately.
git clone https://github.com/zsh-users/zsh-autosuggestions ${ZSH_CUSTOM:-~/.oh-my-zsh/custom}/plugins/zsh-autosuggestionszsh-syntax-highlighting - commands turn green when they're valid and red when they're not, before you press enter. Catches typos instantly.
git clone https://github.com/zsh-users/zsh-syntax-highlighting.git ${ZSH_CUSTOM:-~/.oh-my-zsh/custom}/plugins/zsh-syntax-highlightingEnable them (plus web-search, which lets you google straight from the terminal) by editing the plugins line in ~/.zshrc:
plugins=(git zsh-autosuggestions zsh-syntax-highlighting web-search)One last reload:
source ~/.zshrcThat's it
Package manager, a real terminal, a framework, a prompt that shows git state, and two plugins that read your mind. None of it is complicated, and the whole thing takes maybe half an hour. But I open this terminal fifty times a day, and every one of those is a little bit better now.
If you only take two things from this: get PowerLevel10K for the git-aware prompt, and get zsh-autosuggestions. Those are the ones you'll feel immediately.


